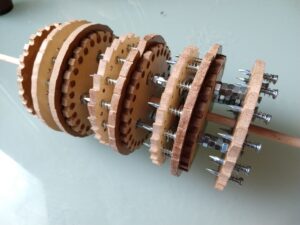
The Enigma encryption discs cut from laminate flooring (see Part 1) in trash and my new shiny 3D printer (cheapest Ender 3) at the ready I’ve started to design a new Enigma machine from scratch.
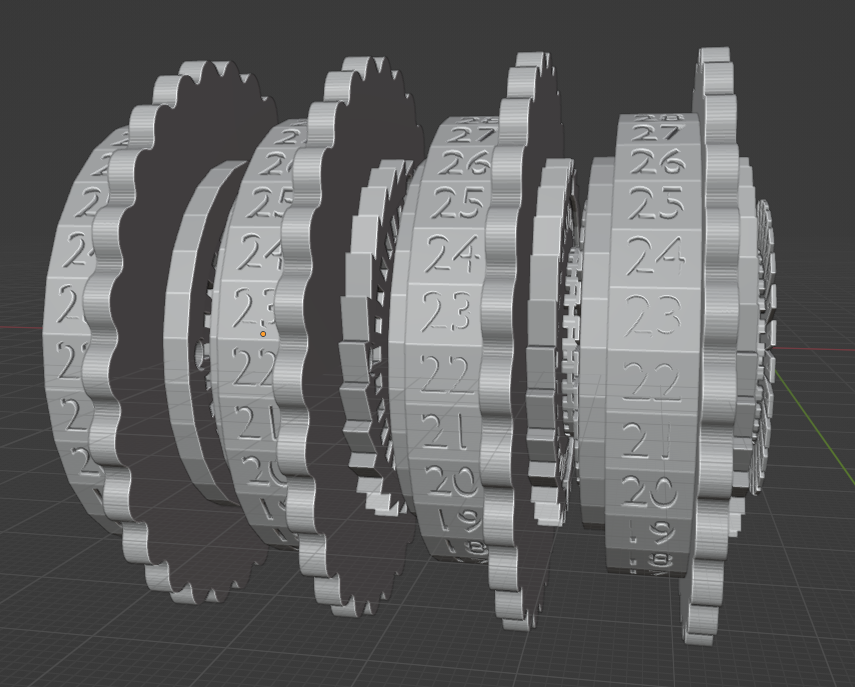
As a modeling software I’ve chosen the Blender for two reasons: it’s free and I wanted to learn it anyway. My idea was to build it on a single piece of plywood or wooden plank that I’ve already had. Rest of the machine should’ve been printed and painted with acrylic paint. Everything joined together should be also dismountable for further revisions and fixes.
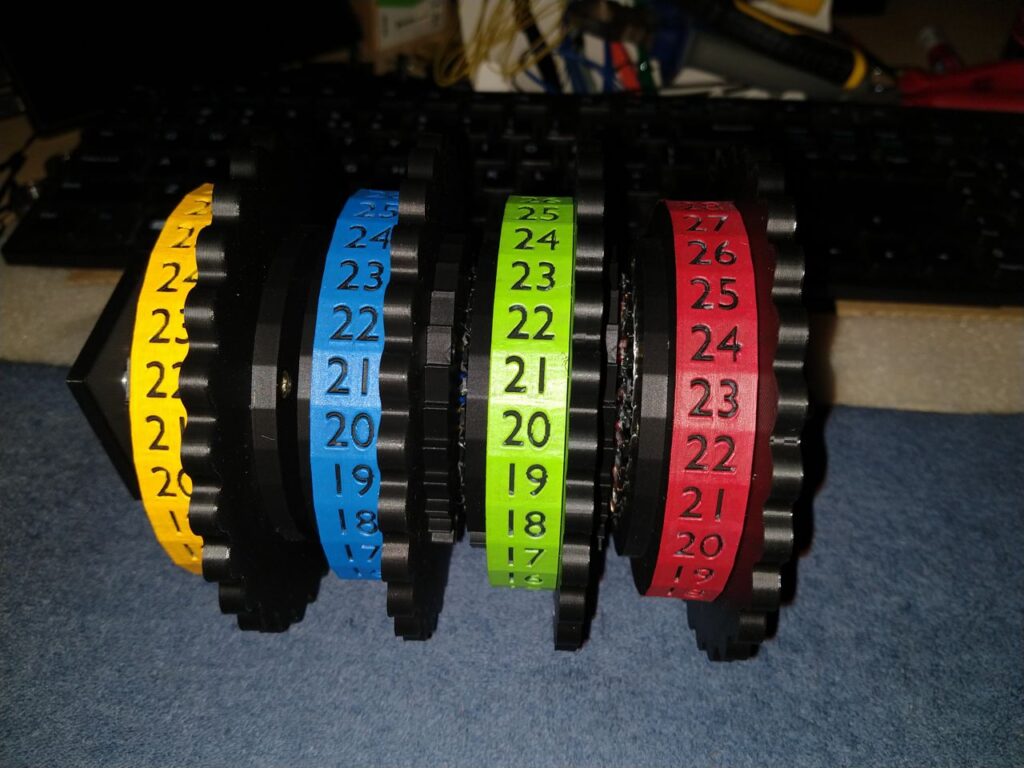
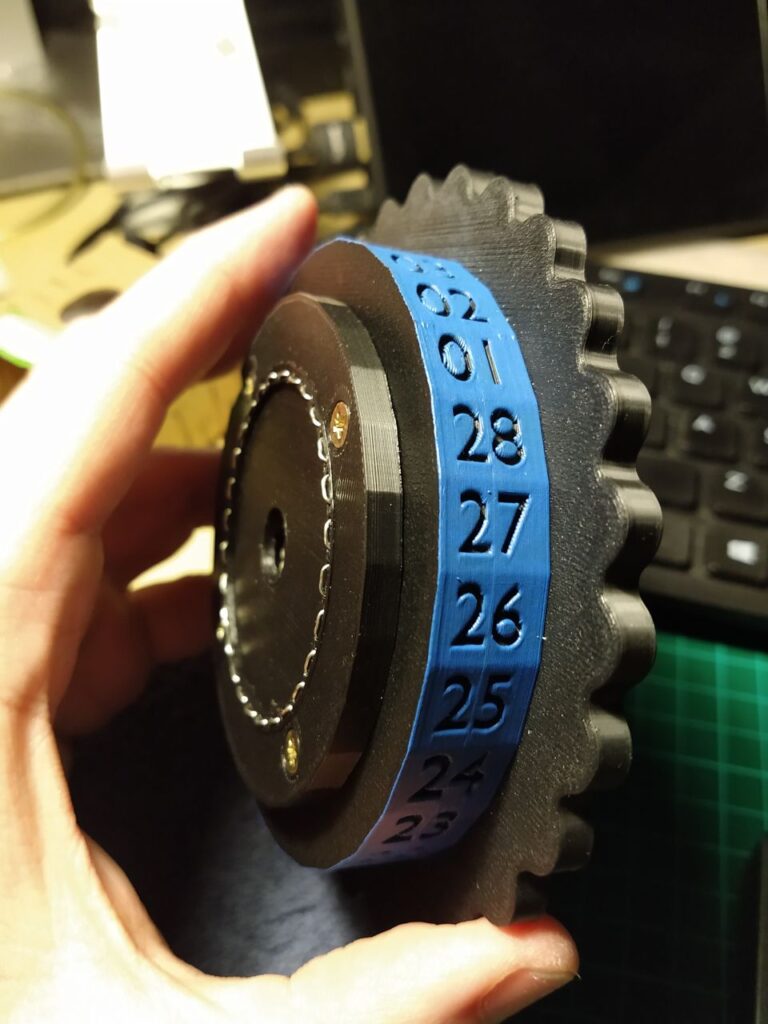
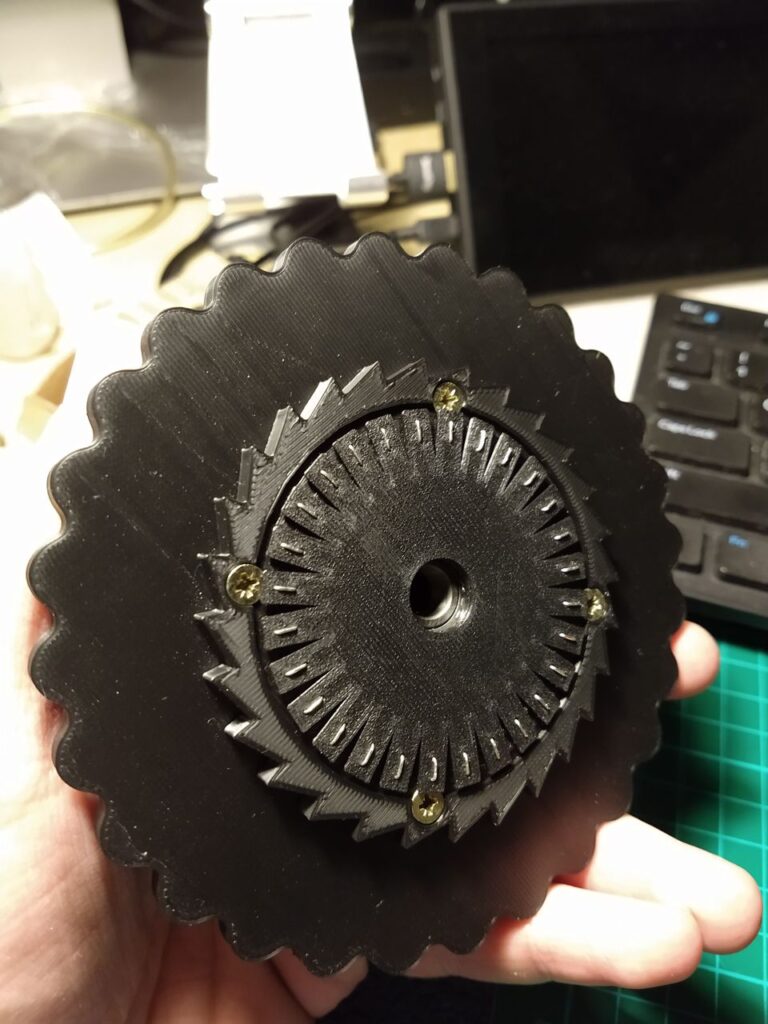
I’ve started with rotor discs like before as they are the most complicated part of the machine. They looked absolutely great!
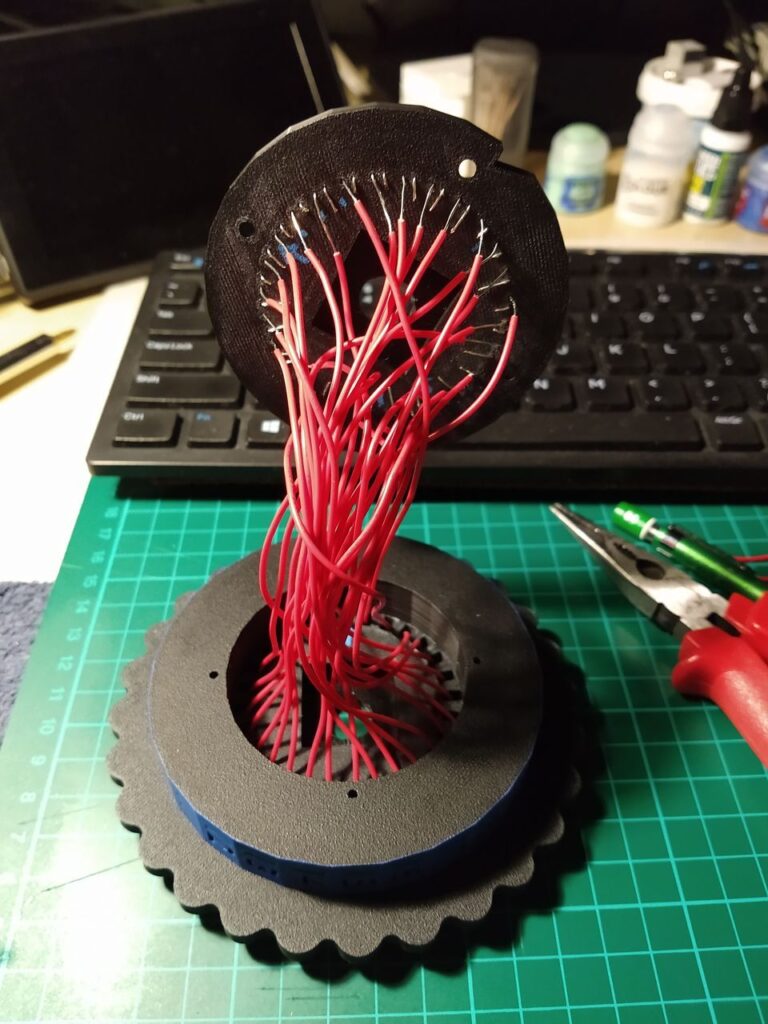
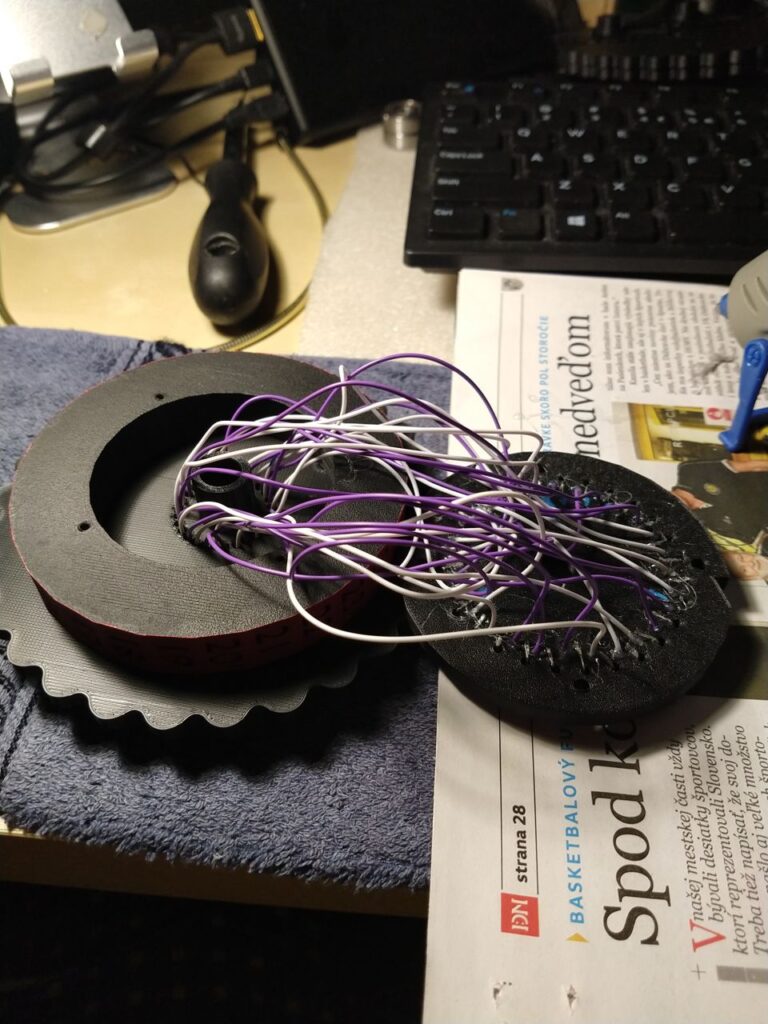
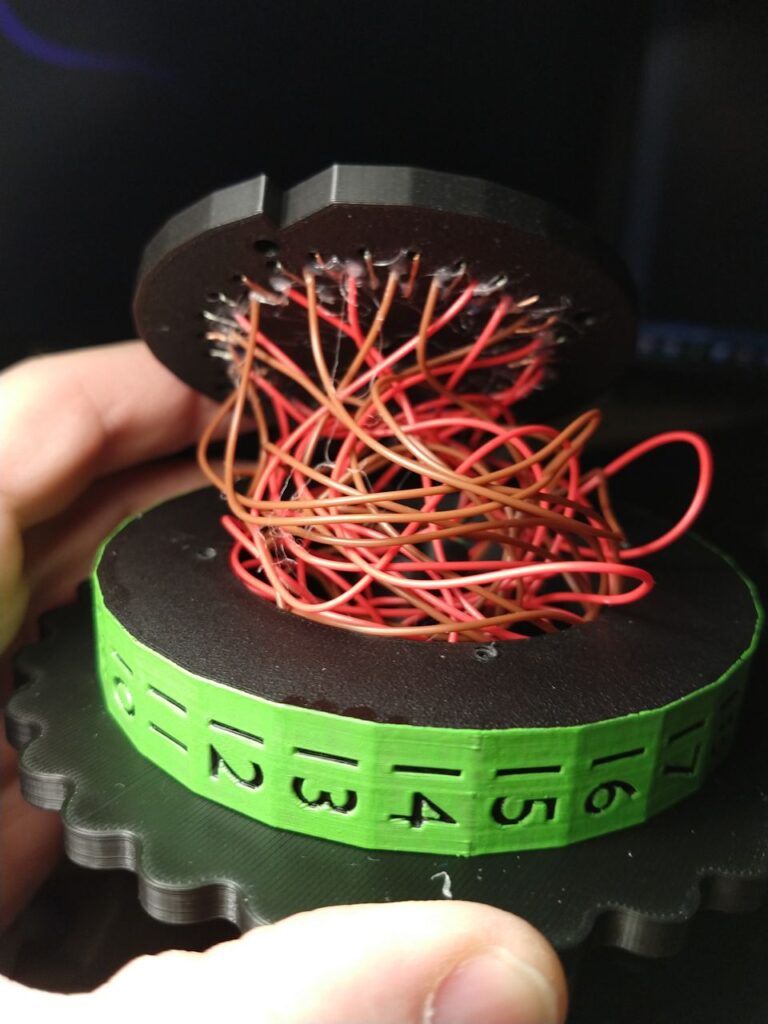
First electric tests showed a major flaw of my design: the wire I’ve used was just too tough. Flexible parts were not strong enough to pull or bend the wire. So I’ve ordered a new super-flexible cable and redone the discs. Since all parts were screwed together it was easy to dismantle, redesign and reprint needed bits and assemble them back again. The new cable was so soft that it couldn’t hold it’s shape on it’s own so I’ve used a hot glue.
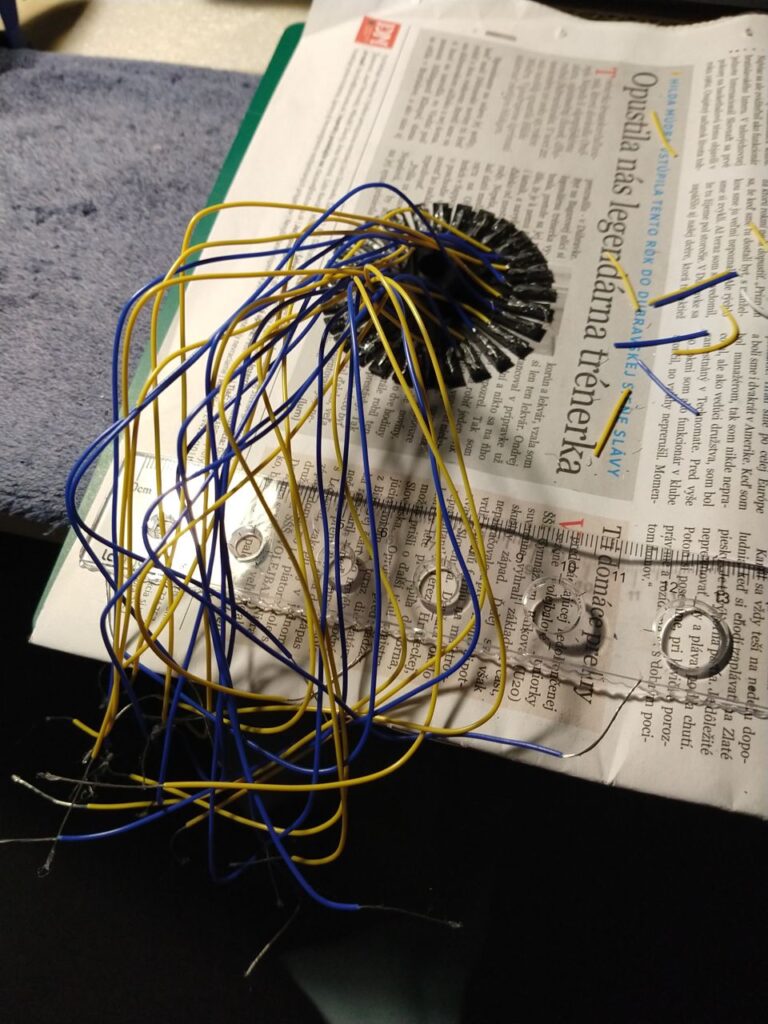
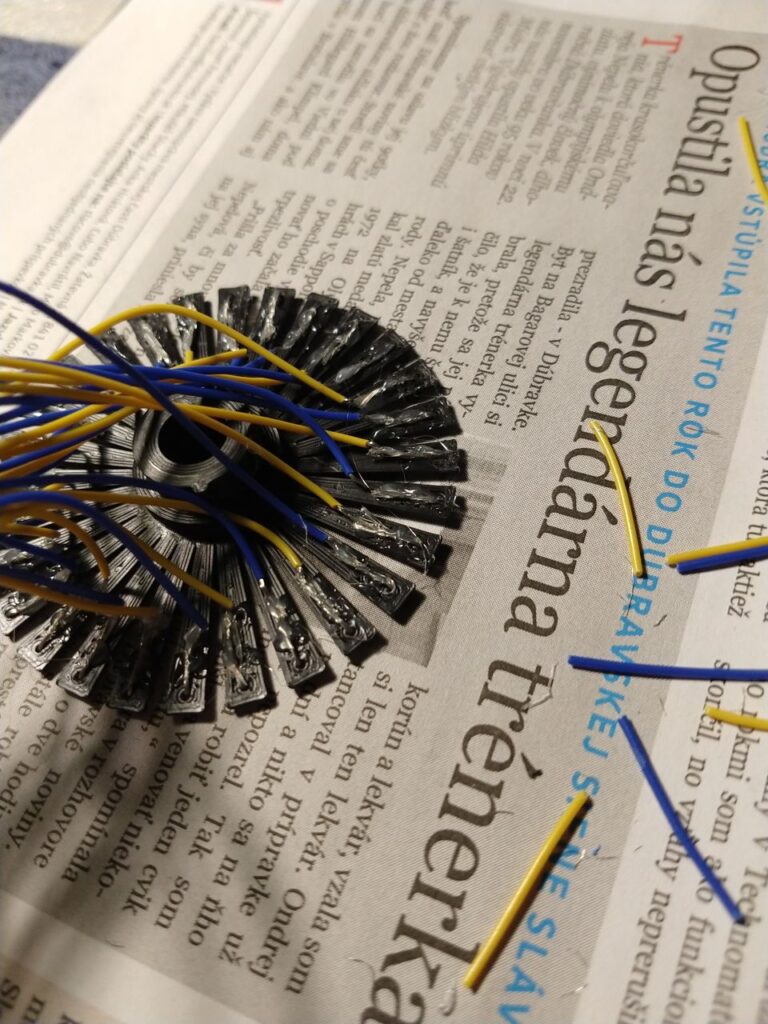
And here they are – the rotor discs: